
Buttons
Buttons are the simplest way to add a call to action anywhere in your story.
Buttons
Whether you want to add a CTA to your story, add an external link, connect multiple or add downloadable content, the button is your go-to building block for these situations.
1. Add Buttons to your story

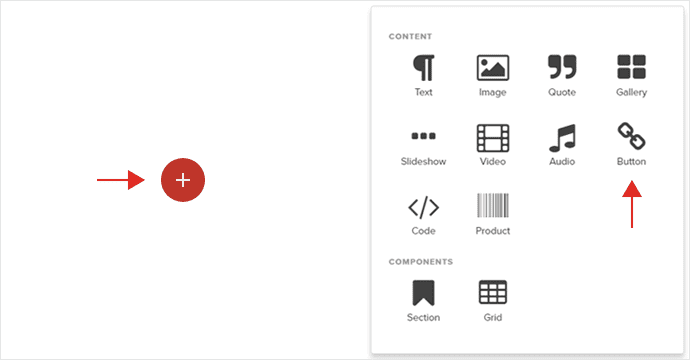
To add a new button to your story, you will have to navigate to the section or grid where you want to add this. Once you’ve decided where the button needs to be placed, click on the red plus icon to open the components menu.
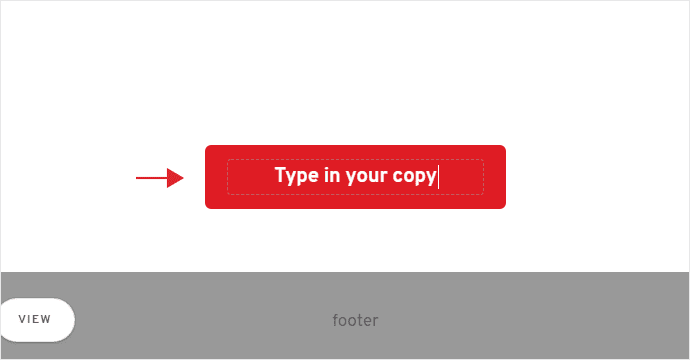
Once you’ve opened the menu, select the “Button” component. This action will automatically add a default button to your story:
2. Customizing your buttons
Input content of the button in the designated text area. The process is similar to adding text to your story.
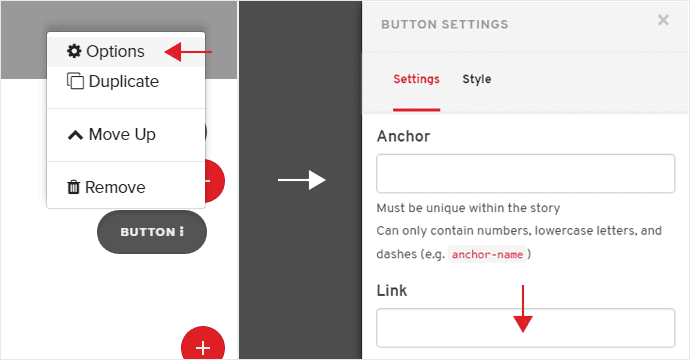
Next, set the URL of the button.
Open the Button Options panel, and under the settings tab, place the URL in the “Link” input field.
Note: If you want to set a button to a hyperlink for an email address, the format of the URL that goes in the “Link” field has to have the following syntax “mailto:”, followed by the email address, as seen in this example: mailto:johnsmith@example.com
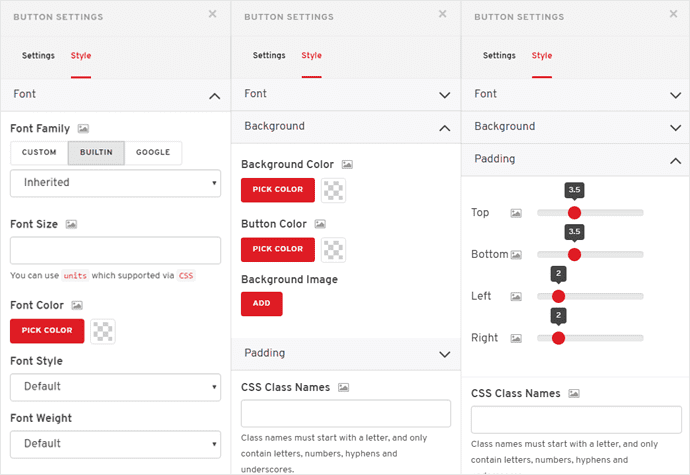
Once you’ve set the button’s copy and URL, you can start styling the button to match the look and feel of your story.
Set the font, font size, font color, style and weight of your button’s copy from the options in the “Font” tab.
You can set a background for container of the button, as well as for the color of the button.
Already an experienced user?
See what else you can do to enhance your story.
Content Elements